|
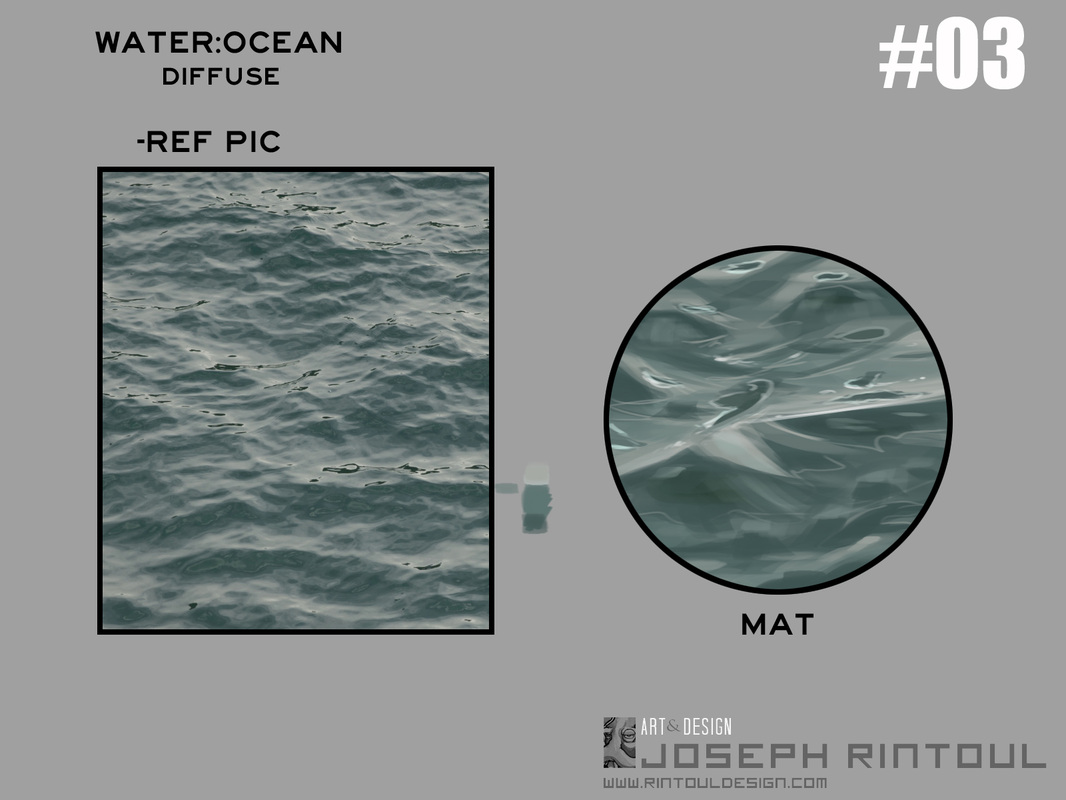
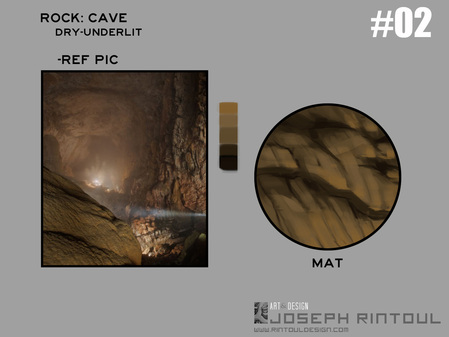
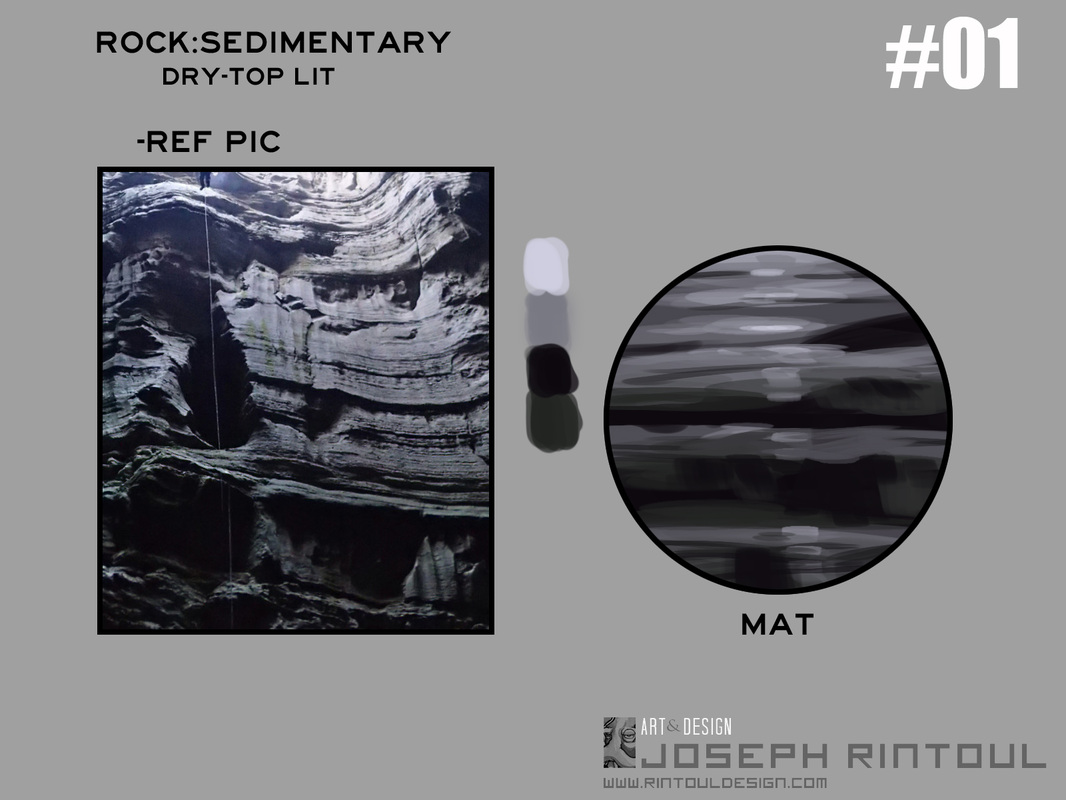
After watching Matt Kohr's (http://ctrlpaint.com/) video on material spheres, I realized that I needed to start practicing better surface identification, especially since I've been really focused on different types of lighting lately. To reach that goal, I've created a template that I'll use to make multiple material studies of different surfaces under different lighting conditions. I realized that I had been depending far too much on photo-textures on any material that wasn't skin or clothes, and so I hope that this will broaden my confidence when painting alternate textures under different lighting conditions. The other goal of this project is to get better at color sampling visually (no eye-dropper tool allowed) and have a better understanding of the differences in value across multiple surface types. These are really quite fun to make, especially because I'm able to make them quickly and get a MUCH better understanding of the surface I'm trying to render. If you'd like to use this template for your own material studies, it's available here.
0 Comments
Here's one of the more comic style pieces that I've done using the template files I discussed earlier to help with color picking and quick renders. It's really proving to be quite useful, especially with quick concepting and colors. What would have taken me much longer originally can now be completed within half that time, with a nice sense of consistency between pieces. It's also proving to be very useful in painting quick good-looking skin-tones, which is one of my favorite things to paint.
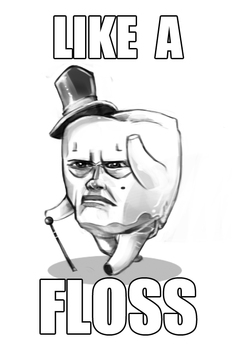 My nephew lost a tooth recently, and inspired this particular piece. Full size -here-. Now, even though this started out as a quick sketch/joke image, it quickly turned into a very fun exercise in edge control and limiting myself with layers. I've always had a bit of an addiction to layers in Photoshop, and have recently been trying to work on single layer images to force myself to really consider the image as is, rather than saying to myself, "Oh, I'll just fix that later on another layer." Invariably, that particular vein of thought is forgotten, and the image looks sloppy. That, or I'll have to look through many many different layers to find the one that has the thing I'm trying to fix on it. This technique however is very simple, and I've used it successfully before on both a Jelly-Fish and a Mermaid (NSFW). Working with only black and white, and a brush with opacity and flow controlled by pen-pressure, I use this to paint in the lines, and then use the eraser to sculpt in the line by erasing from the outside in. |
About:A collection of sketches, Archives
August 2022
Categories
All
|
 RSS Feed